How to Build Clean & Simple Scenes with Die Cuts
Key Takeaways
Focal Point Dominance: Building "clean and simple" (CAS) card scenes with minimal die cuts naturally draws the eye to a single focal point, creating a more cohesive visual hierarchy.
Ink Blending for Depth: Applying monochromatic and gradient ink blending directly to die-cut elements adds critical visual depth, preventing minimalist card designs from looking flat.
Graduated Background Technique: Using a large blending brush to apply ink heavier at the bottom and fading toward the top easily mimics an authentic underwater gradient.
Strategic Dimension: Stacking identical, un-inked die cuts behind focal elements creates physical dimension and structural stability without adding visual clutter.
Themed Accents & Textures: Incorporating matching embellishments—like metallic thread tied into a bubble-style tag and clear enamel dots—reinforces an underwater theme seamlessly.
Hello there, Michelle here with another edition of Terrific Tags with Michelle. Today I have a fun technique to share - how to build clean and simple scenes with die cuts.
Whilst it is great to build full and fun scenes, sometimes it is nice to build clean and simple ones too, with minimal die cuts. I feel like it really draws your eye into the focal point when there is less going on, making the scene more cohesive. Of course, though, this is just personal preference! I do love the look of full scenes too!

Die Cutting
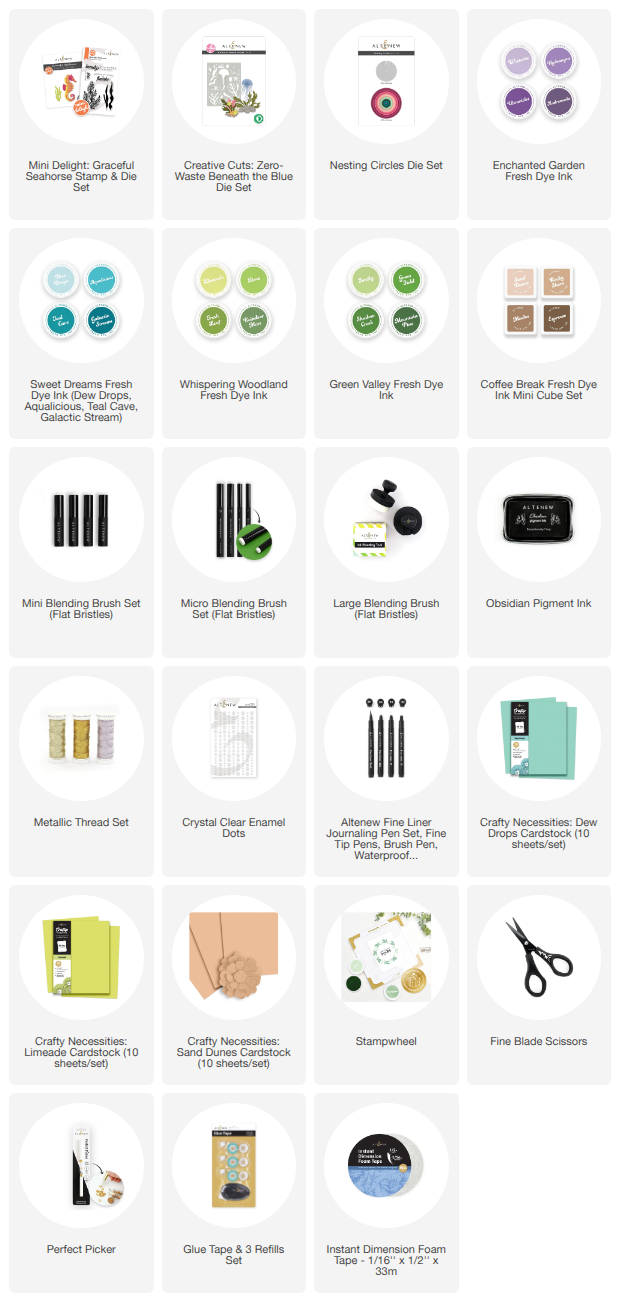
I started off my card by die cutting the seahorse from Mini Delight: Graceful Seahorse Layering Die Set from white cardstock. I cut the seaweed three times from Crafty Necessities: Limeade Cardstock.
I took the rock die from Creative Cuts: Zero-Waste: Beneath the Blue and die cut it from Crafty Necessities: Sand Dunes Cardstock.

Adding Ink Blending
I placed the die cuts onto my Sticky Mat and added ink blending using Mini and Micro Blending Brushes:
- Seahorse - Dew Drops, Aqualicious and Teal Cave (Sweet Dreams Fresh Dye Inks) on the right, and Wisteria, Hydrangea and Ultraviolet (Enchanted Garden Fresh Dye Inks) on the left.
- Seaweed - Lime (Whispering Woodland Fresh Dye Inks), Grass Field and Shadow Creek (Green Valley Fresh Dye Inks).
- Rock - Sand Dunes, Rocky Shore and Mocha (Coffee Break Fresh Dye Inks).

I then took a panel of Crafty Necessities: Dew Drops Cardstock and added ink blending to the bottom using a Large Blending Brush. For this, I used Dew Drops and Aqualicious (Sweet Dreams Fresh Dye Inks). This will become the water.
Using a Large Blending Brush really helps when creating smooth ink blending on larger areas. I started with the brush at the bottom of the panel and when the brush had less ink on it, I moved it further up the panel. This created a nice smooth blend.
Whilst not necessary, I do think the ink blending really adds something to the card, especially the die cuts. It adds depth and this is especially important when creating clean and simple scenes.

Creating the Scene
I added the Dew Drops panel to a white A2 sized card base (4.25" x 5.5") using Glue Tape. I made the panel shorter than the card base so that I could have the bottom of the scene slightly higher up on the card.
I then die cut another two of the rock die to adhere behind the ink blended one. This will help to add some dimension to the card. It was adhered to the card using liquid glue, where the water meets the bottom of the card. One seaweed piece was then popped behind the rock before the glue dried.
I adhered the seahorse on top, adhering with Instant Dimension Foam Tape on the top, and liquid glue at the bottom (where it overlaps the rock).
I die cut another of the seaweed and adhered behind one of the ink blended ones. I adhered this on top of the rock/seahorse. The other one was then popped behind.
Just having these few die cuts for the scene makes it more cohesive and as if you are seeing just a snippet of the larger underwater scene.

Sentiment + Finishing Touches
I stamped the sentiment from Mini Delight: Graceful Seahorse Stamp Set onto Crafty Necessities: Dew Drops Cardstock and die cut it out using a Nesting Circles Die.
I punched a hole in the top and threaded Silky Lilac Metallic Thread through the top and tied in a bow. I added die cut layers behind and then adhered it to the card using liquid glue. I thought it looked a little bit like a bubble and therefore blended into the background a bit and matched the underwater theme!
To finish off, I added more bubbles to the scene by embellishing with Crystal Clear Enamel Dots.
Video Tutorial: Creating Clean and Simple Scenes with Die Cuts
I hope I have inspired you to try building clean and simple scenes with die cuts. You can watch the video tutorial below or over on YouTube.

Thank you so much for stopping by today, I hope you have a wonderful day!
SUPPLY LIST