Selective Stenciling: A Subtle Way to Elevate Backgrounds
Key Takeaways
Balance Your Design: Use selective stenciling to add texture to empty spaces without distracting from your main image.
Strategic Masking: Use masking tape or sticky mats to isolate specific patterns within a larger stencil.
Graphic Contrast: Pair flat ink blending with sharp, dark stenciled accents (like the crosses from Daydream Doodles) for a modern look.
Enhanced Stability: Layer two die-cut tags to create a sturdy base for heavy embellishments and foam tape.
Hello there, Michelle here with another edition of Terrific Tags with Michelle. Today I am adding interest to my background in a subtle way with selective stenciling.
Just adding part of a stenciled image is a great way to elevate backgrounds but not overpower your focal point.

The Focal Point
I started off my tag by creating the focal point. I stamped the image from Build-A-Garden: Scripted in Bloom onto Classic Crest 110lb Solar White Cardstock using Obsidian Pigment Ink and the Stampwheel.
I die cut the image out using the coordinating die and placed it on my Sticky Mat ready for stenciling.
I am actually doing two types of stenciling today - the first is adding color the image, and the second is the selective stenciling in the background.

For the stenciling, I used the following ink colors:
- Stencil 1 - Aqualicious Fresh Dye Ink.
- Stencil 2 - Teal Cave Fresh Dye Ink.
- Stencil 3 - Sunray & Chamomile for the flower centers, Firefly for the leaves.
- Stencil 4 - Grass Field.
I did not do any shading on the image, I kep the ink blending as flat color (except for the flower centers) as I wanted to give the tag a graphic look and flat shading helps with that.
I then die cut the top of the image using the Terrific Tags Die Set. Watch the video below to see how I did it!

Selective Stenciling
I die cut two tags from Classic Crest 110lb Solar White Cardstock using one of the largest tags from Terrific Tags Die Set. One will be used for the background with he is stenciling, and the other added to the back for stability.
I wanted to add some subtle detail to the background but nothing that would overpower the focal point, so I decided to add some stenciling to it but in a selective way.

I placed the tag onto my Sticky Mat and placed the image on top to use as a guide to where to add the stenciling.
I took the stencil from Daydream Doodles Builder Stencil Set. I just wanted the crosses part of the stencil.
I started the stenciling off in the top right corner of the tag. I placed the stencil on top and masked off any areas that I did not want to stencil. I then added ink blending to the crosses that I did want to stencil using Jet Black Fresh Dye Ink and a Mini Blending Brush.
I then repeated the process adding the stenciled crosses in each of the corners of the tag. This adds just a little interest to the tag, and by selecting the individual crosses, I can just add a few.

The image was adhered on top using Instant Dimension Foam Tape.
I stamped a sentiment from Twin Blooms Stamp Set onto Crafty Necessities: Jet Black Cardstock using Embossing Ink. I applied Pure White Crisp Embossing Powder and heat set.
It was cut into a strip and adhered to the tag using Instant Dimension Foam Tape. To finish, I threaded twine through the top of the tag and tied in a bow.
Video Tutorial: Selective Stenciling
I hope I have inspired you to try adding selective stenciling to your projects. It is a great way to add subtle detail to a background. You can watch the video tutorial below or over on YouTube.

Thank you so much for stopping by today, I hope you have a wonderful day!
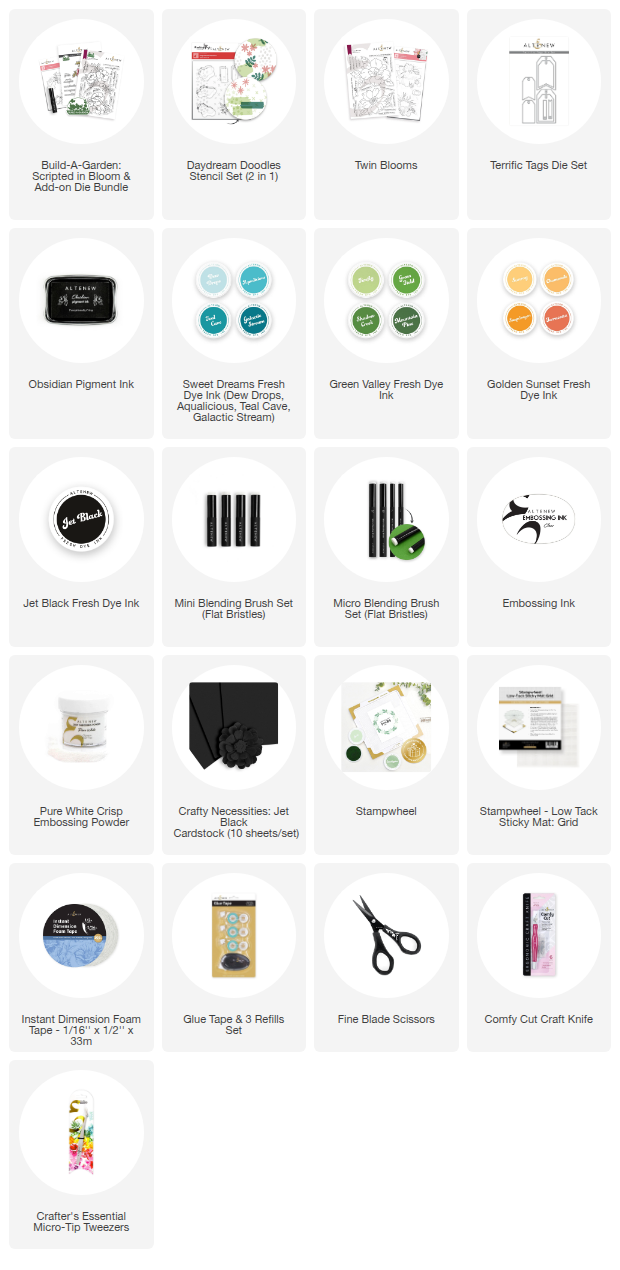
SUPPLY LIST